Mount and Blade II Bannerlord
Introduction
Important things to know about Mount & Blade II: Bannerlord. Note that these details can change with any game update.
Token
Launch Mount & Blade II: Bannerlord in multiplayer mode and log in.
Open the in-game console by pressing ALT + the tilde key (~) or ALT + the key located below the Esc key.
In the console that appears, type in
customserver.gettokenand press Enter.
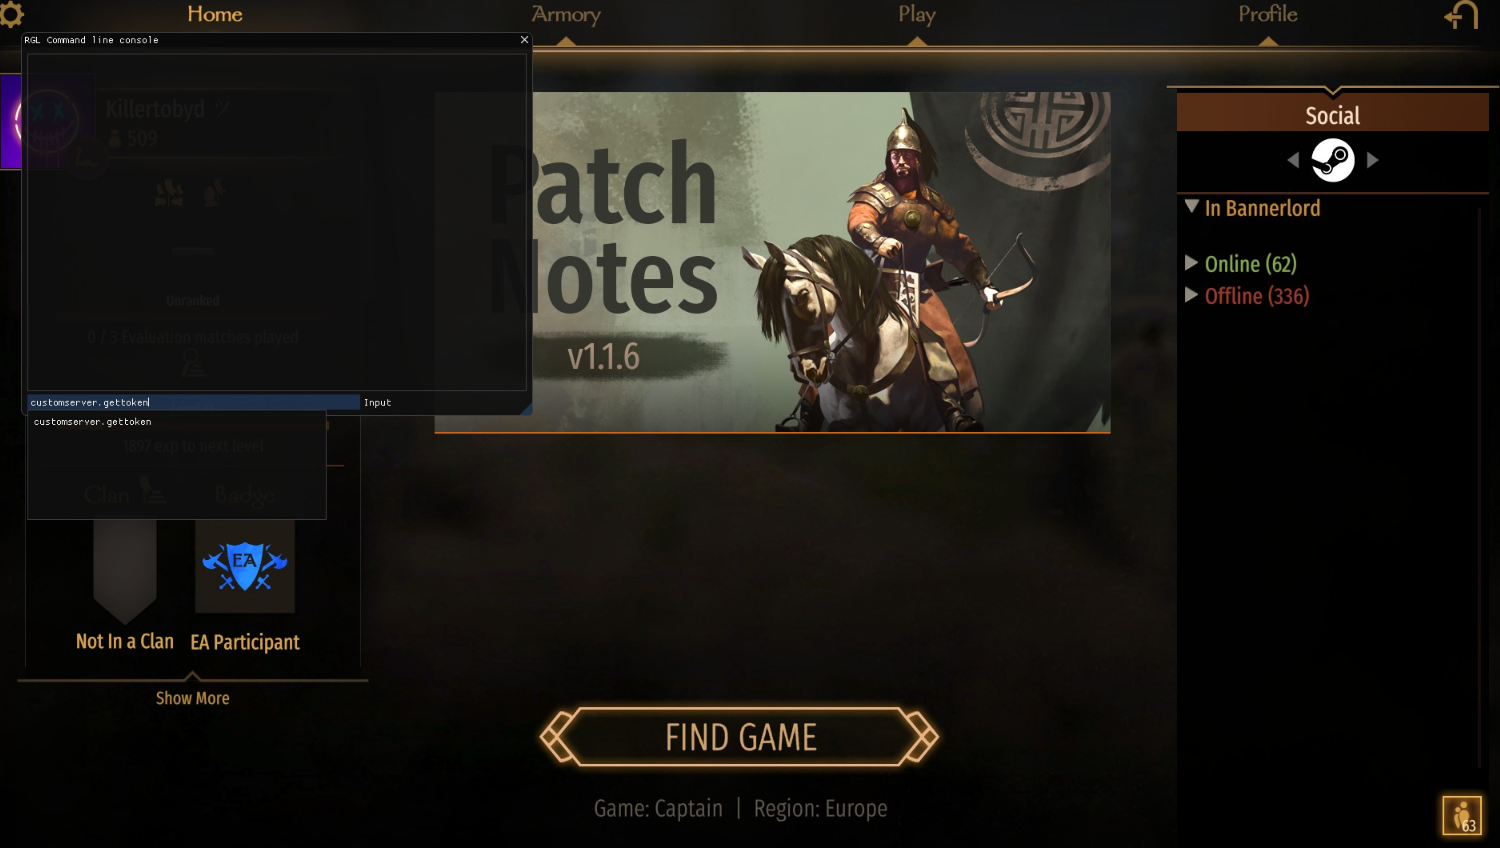
Your token will now be generated and saved in the
"DedicatedCustomServerAuthToken.txt"file located in your "Documents\Mount & Blade II Bannerlord\Tokens" folder on your PC.
This token can be used to authenticate your Bannerlord server.
Server Settings
You can edit the server settings manually in the folder Module/Native/ds_config_*.txt or you can edit the variables in the startup, which will update the config automatically after every restart of the server.
Attention: In the config you have to set the set_automated_battle_count to -1 to prevent the server from crashing.
Custom Game Mode
In Custom Game Mode you can run mods/modules and from now on you can load several mods/modules together. To add a module go to Startup and edit the variable Custom Game Mode and use this launch command:
Now upload the file you want to have to the server via FTP-Client and add the desired file in Files/Modules.
Finally, take the launch command and remove YOUR_MODULE_NAME_1*YOUR_MODULE_NAME_2 and replace these two placeholders with the Mod/Module names that were uploaded to the server. If only one mod was uploaded, remove *YOUR_MODULE_NAME_2.
launch command example:
Custom Server Helper
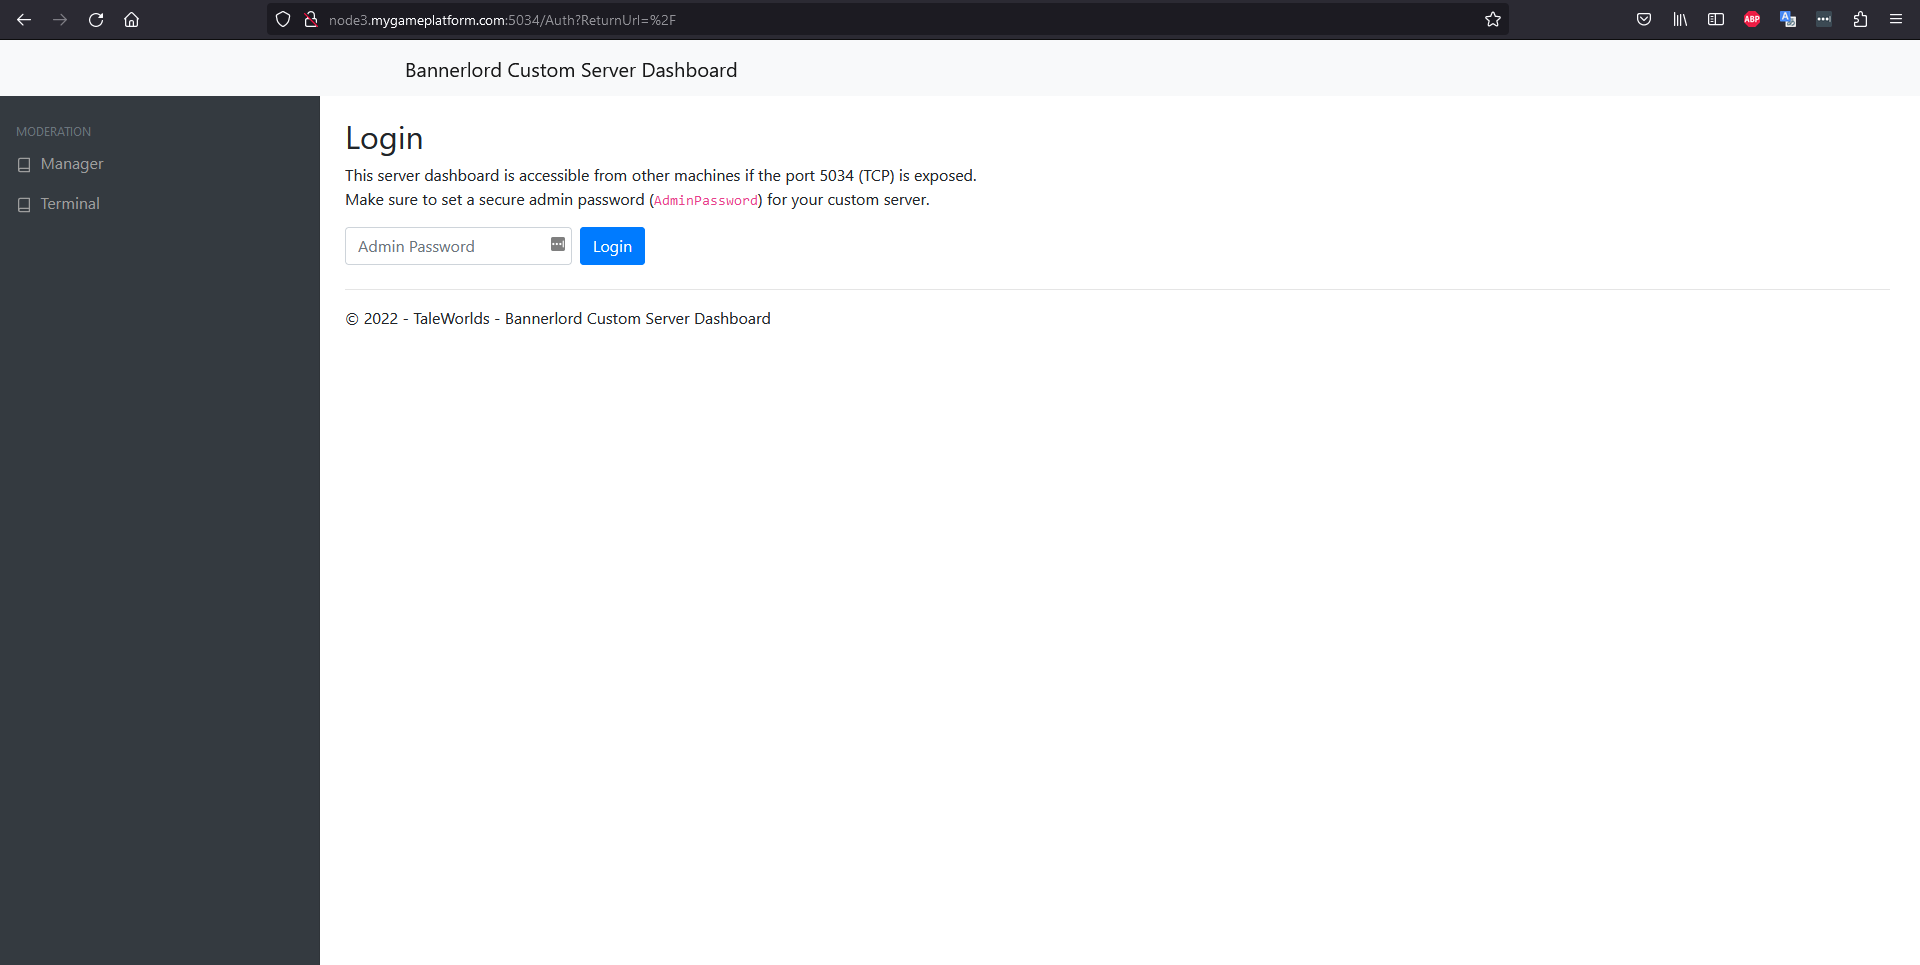
To use the Custom Server Helper, you need your server IP and Port.
Take the address of your server and paste it into the address line of your browser.
Custom Maps
Adding custom maps
Path: /home/container/Modules/Multiplayer/SceneObj
Place any desired custom map into the SceneObj folder of the Multiplayer module.
Configure Map Pools
Open your server configuration and add the names of the custom maps to the map pool. This will allow players to select these maps.
Server restart
Restart the server to update the configuration and apply the changes.
Downloading custom maps
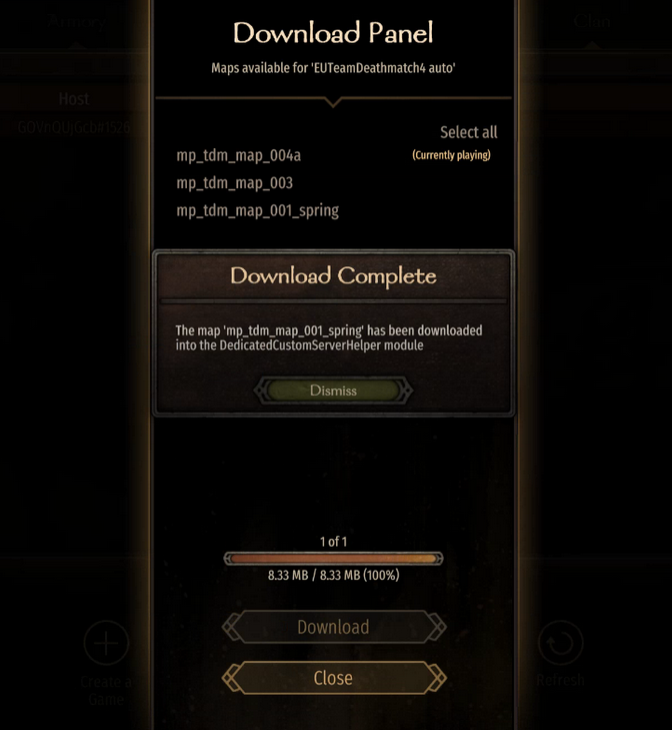
Players can now open the server's download panel to download the map they want. This map will be downloaded directly from the server.
Joining and selecting maps
After the map is downloaded, players can join the server. In a map poll, the custom map can now be selected.
Discord Webhook URL
To receive notifications from the system in your Discord server, a Webhook URL is required.
How to set up a Webhook:
Open Discord and go to your server.
Go to Server Settings → Integrations → Webhooks.
Click New Webhook, choose the target channel, and copy the Webhook URL.
Go to StartUp, find the Webhook field, and paste the URL there.
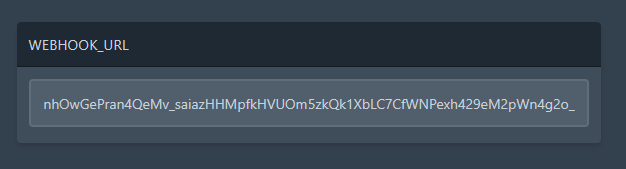
Make sure the webhook is active and points to the correct channel where you want notifications to appear.