Valheim
Join the Server
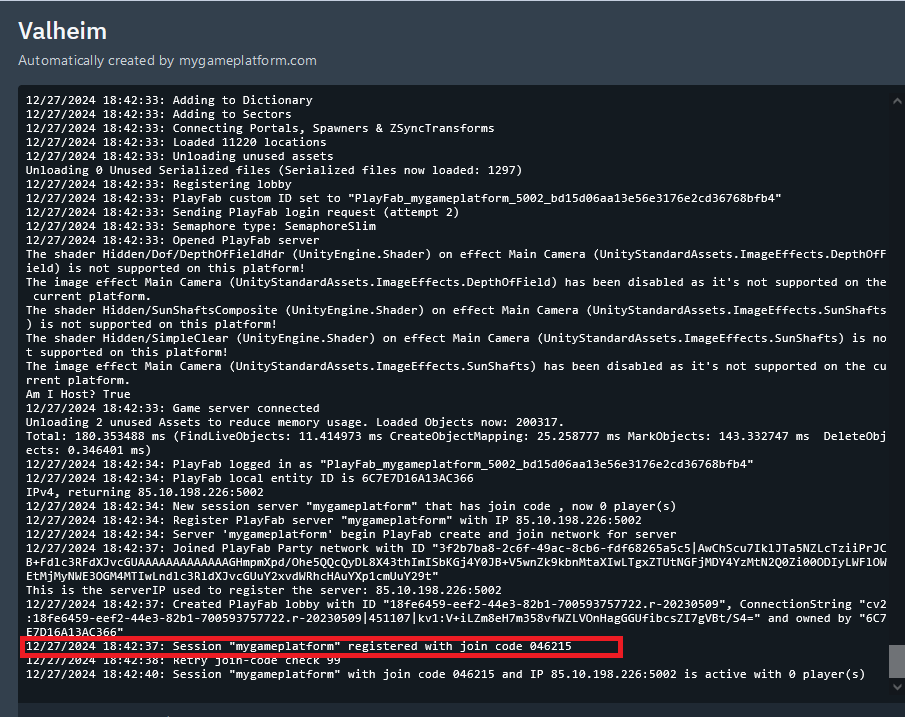
You can join via the invite code, which you find here
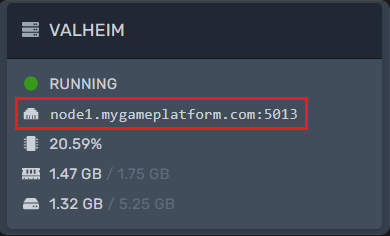
or you can join via the IP
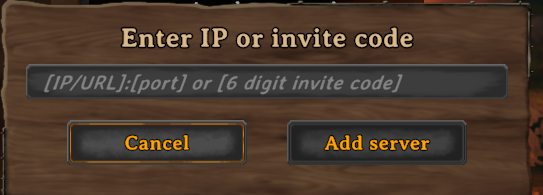
You must then enter both here
How to install public beta on Valheim server
To install the public beta on the server, follow the same steps as for the client.
Take a backup of the server, as this action will delete all files. See Backups for how to create one.
Turn off the server
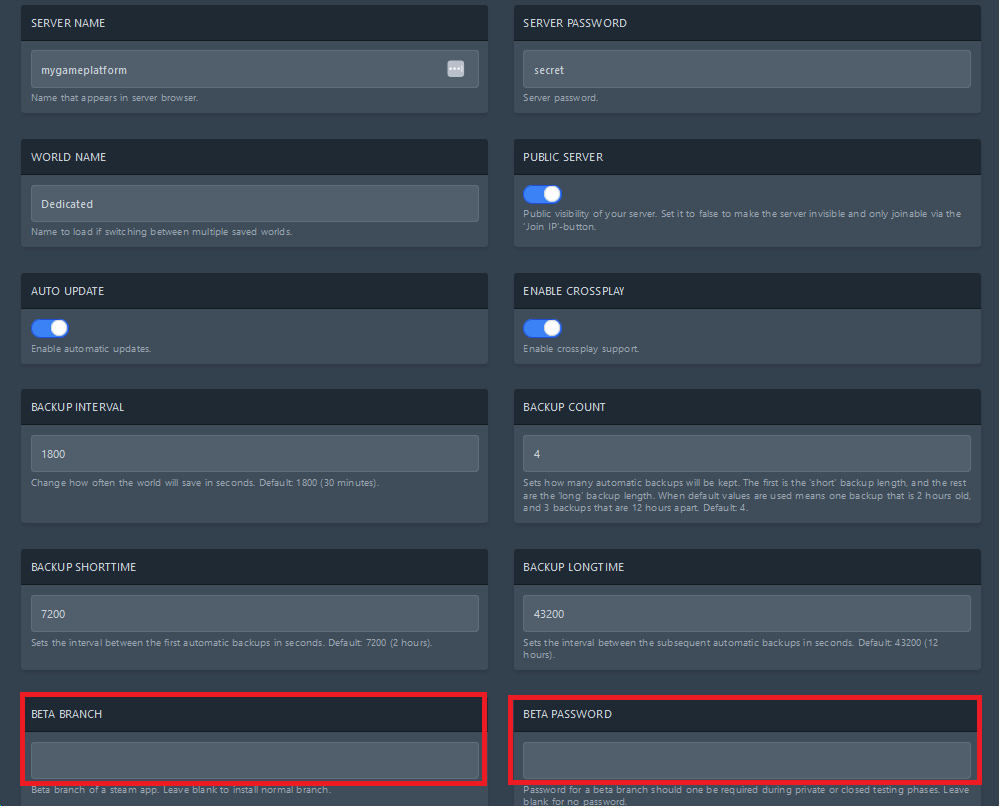
Go to the startup menu. And enter the beta branch and beta password.
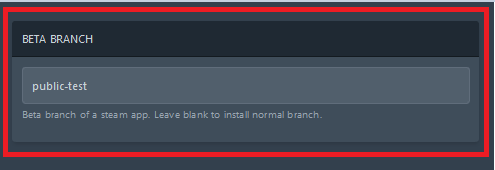
the beta branch in this case will be public-test
Make sure auto-update is turned on
Then start your server, this will install the Valheim test branch selected.
How to Enable PvP Mode on Valheim Server
Although Valheim is primarily a PvE (Player vs. Environment) game, it also allows players to engage in PvP (Player vs. Player) combat.
In this guide, we’ll show you how to enable PvP mode on your Valheim server. Keep in mind that activating PvP can be risky, as dying in combat may result in the loss of your entire inventory. Be cautious to avoid losing the progress you’ve worked hard to achieve.
Join the server you want to start PVP on
Go to your inventory.
At the top right, click the 2 swords so that they become crossed
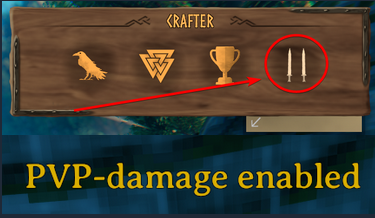
Congratulations, PvP is now enabled! Get your opponent to do the same to start the duel.
How to back up and save Valheim game progress
Back up your character inventory and skills
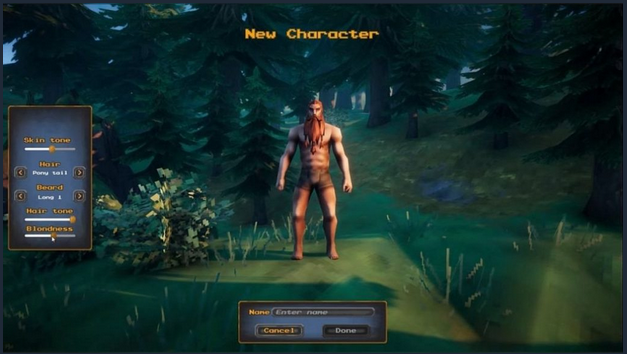
All game progress, including inventory and skills, is tied to your character. This allows you to transfer your character between different worlds, making it a crucial part of the game that you’ll want to safeguard.
To back up your character data, navigate to the following folder on your PC:
C:\Users\<username>\AppData\LocalLow\IronGate\Valheim\characters
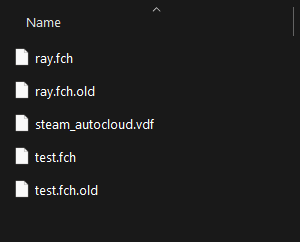
Inside the folder, you’ll find your character files. Copy these files to a secure backup location.
Make it a habit to back up regularly to ensure you never lose your Valheim progress in case something happens to your game.
How to upload a Valheim game world to a dedicated server
Look for the world of your local Valheim game in the folder below
C:\Users\<username>\AppData\LocalLow\IronGate\Valheim\worlds
Locate the world you want to upload to the server, and if it's a newly rented server, ensure the server is started first to generate the necessary folder.
/home/container/.config
Method 1:
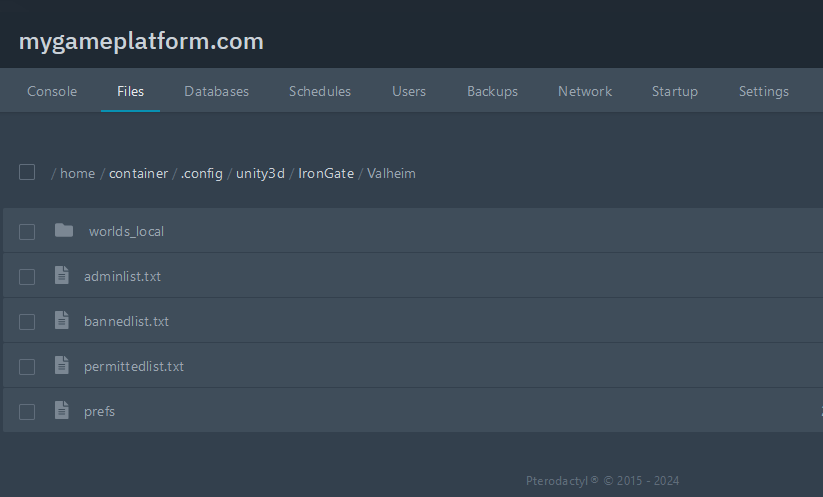
Look for the folder below on the game panel and simply drag and drop the files to the worlds folder /home/container/.config/unity3d/IronGate/Valheim
Method 2:
See the FTP-Client guide for details.
Navigate to:
/home/container/.config/unity3d/IronGate/Valheim
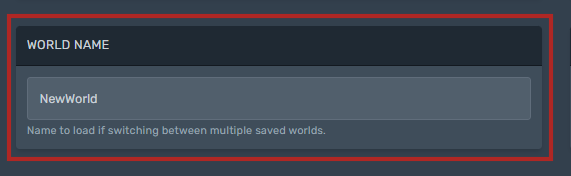
You can now change the world name on the panel to your new world as shown below